







Indoor photography ideas can turn a spare room, hallway, or dining table into a useful set. A window, household lamp, sheet of paper, or compact flash can create portraits, product images, and still life photographs without extensive equipment.
Each setup below identifies subject placement, light direction, background choice, and a practical variation. The same arrangements can be refined in a dedicated studio with softboxes, stands, seamless paper, and light-shaping tools.
Indoor Photography Ideas for Small Spaces
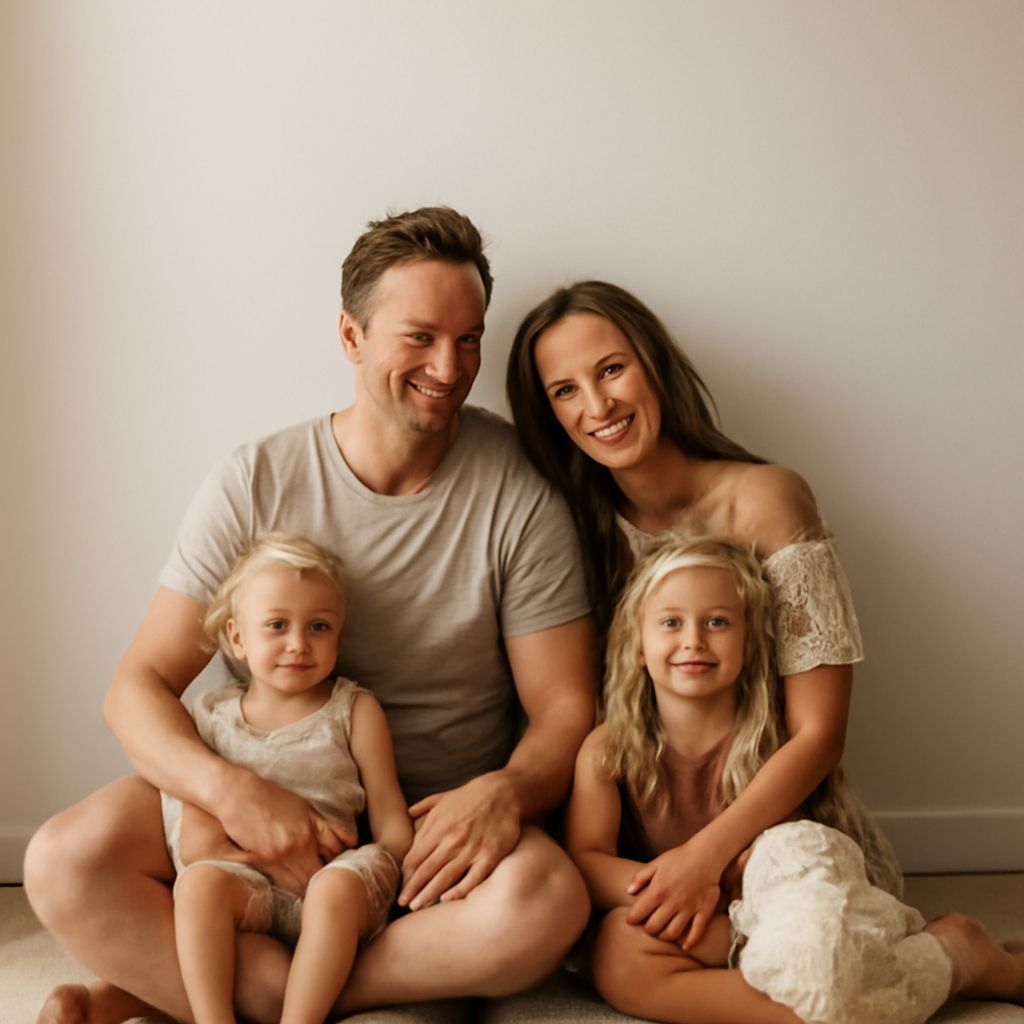
Wall-and-floor portrait: Place the subject about 1 metre from a plain wall and angle the body slightly toward a window or household lamp positioned 45 degrees to one side. Leave space above the head and include the floor for a full-length composition. A chair, coat, or textured blanket can change the scene without moving the subject.
Doorway silhouette: Position the subject in a doorway with the brighter room or outdoor light behind them. Keep the camera in the darker room and expose for the background, allowing the person to become a clean shape. A raised arm, hat, or long coat creates a stronger outline. For a softer variation, move the subject sideways so the light catches one edge of the face.
Tabletop story: Arrange books, glasses, flowers, or work tools on a small table near a window. Place the objects 30 to 60 centimetres from the light source and shoot from above or at a low 45-degree angle. Use plain card, wood, or fabric as the background. Change the arrangement from symmetrical to deliberately uneven for a second composition.
Window-Light Portrait Ideas With Simple Posing
Window light is most controllable when the subject remains close to the opening and the background is farther away. Sheer curtains soften contrast, while bare glass produces clearer shadows and more definition.
Side-lit headshot: Seat the subject 50 centimetres from a window with one shoulder toward the light. Turn the face slightly toward the window and keep the far cheek in gentle shadow. A blank wall or curtain prevents background distractions. Add a white sheet or reflector on the shadow side for a brighter variation; use black clothing for more contrast.
Relaxed seated portrait: Place a chair parallel to the window and have the subject sit with the torso turned 30 degrees toward the light. Hands can rest on the knees, hold a mug, or adjust a sleeve to avoid stiff posing. Use a bed, bookcase, or neutral wall behind the chair. Move the chair farther from the window for softer falloff and a darker background.
Backlit movement: Stand the subject about 1 metre in front of the window, with the light directly behind the head or shoulders. Expose for the face if a bright, airy portrait is required, using a white wall or reflector in front to lift shadows. Ask for a slow turn, hair movement, or a coat adjustment. Exposing for the window instead creates a graphic silhouette.
Photography Studio Ideas Using One Light
One-light photography studio ideas work in a spare room when the light is placed deliberately and the background is kept simple. A speedlight, LED panel, or strobe with a softbox can produce each setup; a white wall can replace a reflector.
Softbox portrait: Place the subject 1 to 2 metres in front of a grey, white, or fabric backdrop. Set the softbox 45 degrees to the subject’s face and slightly above eye level, aiming it down toward the cheek. Ask for a three-quarter pose with the chin turned toward the light. Move the light closer for softer shadows or replace the softbox with a bare flash for a sharper fashion variation.
Split-light profile: Position the subject side-on to a bare bulb or uncovered flash, with the light at 90 degrees to the face. Place the subject close to a dark backdrop so the lit profile separates from the background. A hand near the chin or a turned shoulder gives the pose structure. A white wall or reflector on the opposite side changes the result from dramatic to balanced.
Spotlit object: Place a bottle, vase, or small sculpture on a table 1 metre from a dark background. Aim one light from the side and slightly behind the object to reveal its edge, then use white card at the front for detail. Black card can deepen the shadow instead. A translucent sheet between the light and subject creates a softer product version.
Studio Photography Ideas for Still Life, Products, and Backgrounds
Studio photography ideas become easier to repeat when the camera, object, and light positions are marked with tape. Consistent placement is especially useful for product collections or before-and-after comparisons.
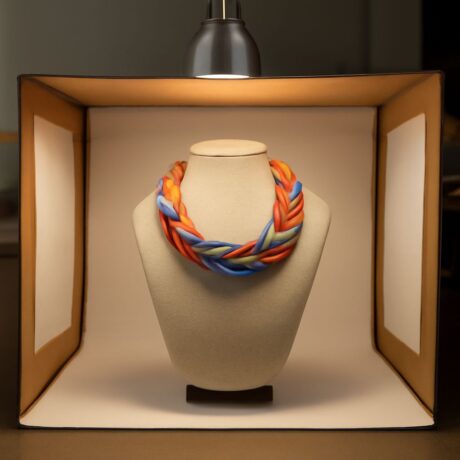
Seamless product shot: Curve a sheet of white paper from the tabletop to a wall so there is no visible corner. Place the product 30 centimetres from the curve and position a window or soft light 45 degrees to one side. Keep the camera level with the product for a straightforward catalogue image. Add white card opposite the light to reduce shadows, or use black card to make reflective edges more visible.
Colour-blocked still life: Stand a coloured card or fabric behind a group of objects, with the background extending onto the table. Place the main object in front and light it from the side so its form remains clear. Match or contrast the object and background colours for different moods. A second card closer to the light creates a brighter foreground without additional equipment.
Overhead flat lay: Arrange stationery, food, jewellery, or clothing on a matte background and place the camera directly above. Set the table beside a window so light travels across the arrangement from one direction rather than flattening every surface. Leave deliberate negative space for a clean composition. Rotate the objects, change the background to kraft paper, or add one hand entering the frame for a lifestyle variation.