







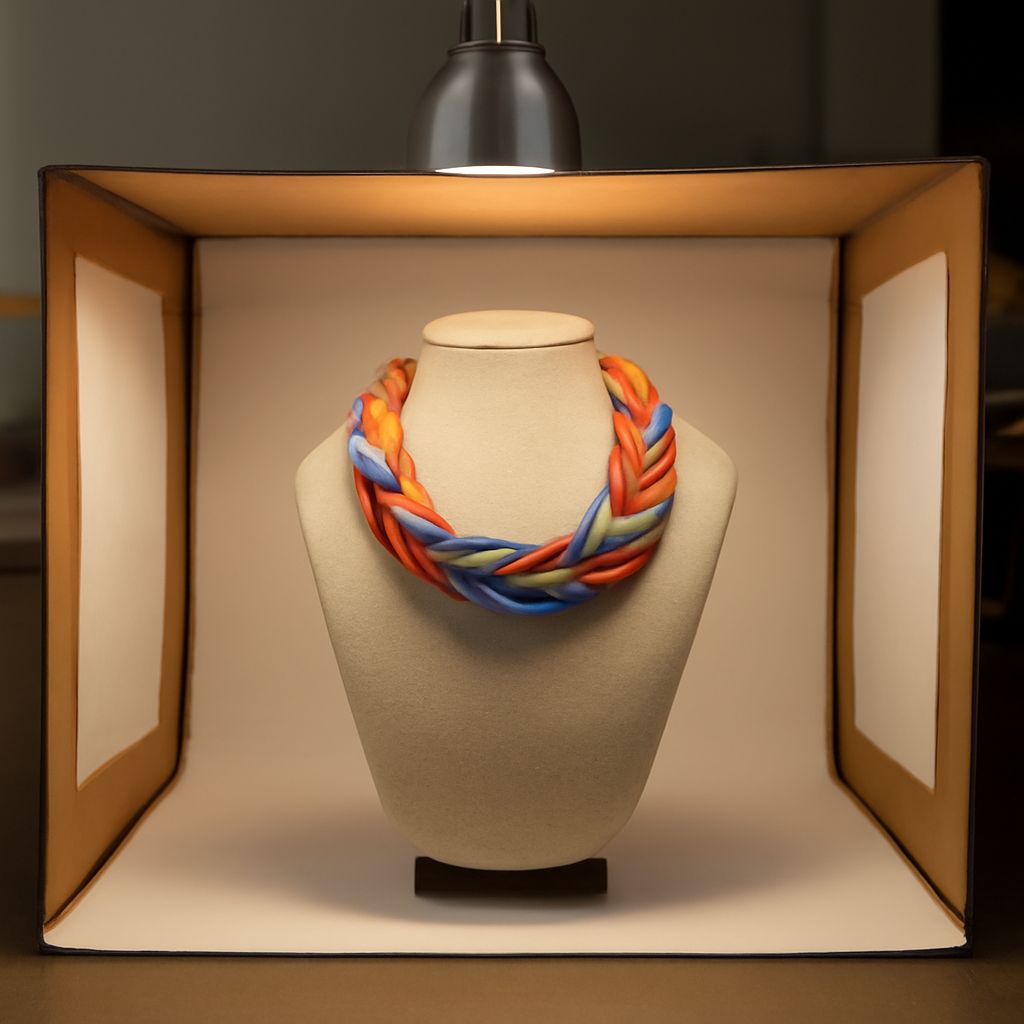
A DIY photography light box creates a controlled tabletop space for clean, evenly lit object photos. A 24-inch cube made from cardboard, white diffusion material, and two or three matched LED bulbs is large enough for products such as jewelry, small electronics, food, and craft items.
The enclosure controls stray reflections, but diffusion, bulb placement, color consistency, and camera settings determine the finished image. The build below uses inexpensive materials and can be adjusted for smaller subjects.
How a Light Box for Photography Uses Diffusion to Even the Light
A light box for photography surrounds the subject with bright, pale surfaces. Openings in the top and sides hold translucent diffusion panels, which scatter the light before it reaches the object. Scattering makes each lamp appear larger, softens shadows, and reduces bright reflections on glossy surfaces.
The white interior also reflects light into darker areas. The front remains open for the camera, while a white background curves from the rear wall onto the floor. This seamless sweep prevents a visible corner and gives the subject a clean background.
Diffusion cannot correct badly positioned or mismatched lights. A lamp placed too close to one side can still create uneven brightness, and bulbs with different color temperatures can produce blue and yellow areas in the same photograph.
Materials and Sequential Assembly for a DIY Photography Light Box
For a 24-inch cube, gather the following:
- One clean corrugated cardboard box measuring approximately 24 by 24 by 24 inches
- Three pieces of white diffusion material, each about 20 by 20 inches; use ripstop nylon, white polyester fabric, or two layers of white tissue paper
- One sheet of white poster board or paper, approximately 24 by 36 inches, for the background sweep
- A ruler, pencil, craft knife, cutting mat, scissors, and measuring tape
- White tape or gaffer tape, plus binder clips or masking tape
- Two clamp lamps for the sides and an optional third lamp for the top
- Two or three identical LED bulbs, preferably with a color-rendering index of 90 or higher
- A camera, lens, and tripod
- Place the box with its opening facing forward. Measure a 2-inch border around the left, right, and top panels. Mark a large square inside each border, leaving the cardboard frame intact.
- Cut out the three marked squares with a sharp craft knife. Keep the bottom and rear panels solid. Reinforce weak corners and cut edges with tape.
- Cut diffusion fabric or paper slightly larger than each window. Attach it to the outside of the box with tape, keeping it flat and wrinkle-free. Use two tissue layers if the light remains harsh, but avoid making the panels so opaque that the bulbs become ineffective.
- Cover the inner side walls and ceiling with white paper or foam board if the cardboard is brown. Leave the diffuser windows unobstructed. A white interior reflects light more evenly than bare cardboard.
- Place the poster board inside the box. Secure its upper edge to the rear wall, let it curve gently down, and extend it across the floor. Do not crease the bend; a crease will appear as a dark line behind the subject.
- Set the box on a stable table and check that the diffuser panels cannot fall inward. Keep lamps and electrical cords clear of the cardboard edges. LEDs produce less heat than incandescent bulbs, but fixtures still need ventilation and should not touch fabric or paper.
Choose LED Bulbs for Photography: Brightness, Color Temperature, and Matching
Useful LED bulbs for photography are bright, consistent, and neutral in color. For a 24-inch box, start with bulbs rated around 800 to 1,500 lumens each. Actual brightness depends on the diffuser, lamp distance, and camera settings, so dimmable lamps provide more control than bulbs with only one output level.
Choose a daylight color temperature of about 5,000K to 5,500K for a neutral white result. Warm bulbs around 2,700K to 3,000K add yellow or orange color. The exact temperature matters less than consistency: use bulbs with the same Kelvin rating, model, and preferably the same manufacturer in every lamp.
A high CRI, ideally 90 or above, helps preserve accurate colors in products, food, and artwork. Avoid mixing daylight LEDs with household lamps or window light. Flicker-free bulbs are useful when the setup may also record video. Bulb wattage indicates energy use, not photographic brightness, so compare lumens instead.
Position one lamp outside each side diffuser, about 6 to 12 inches from the panel, at the subject’s height or slightly above it. Aim both lamps toward the center at roughly 45-degree angles. Add a third matching lamp above the top diffuser for extra brightness or to reduce a dark upper surface. Keep the lamps equally distant when possible; unequal distances create a brighter side even when the bulbs match.
Place the Lights, Background, Subject, and Camera for the First Photo
Put the subject on the white sweep, about 6 to 10 inches in front of the rear wall. This separation keeps the subject’s shadow from landing directly on the background. Center the object between the two side diffusers, then place the camera directly in front of it at the object’s mid-height. A tripod keeps framing stable and permits slower shutter speeds without camera shake.
Use a normal or short-telephoto focal length rather than a very wide lens, which can stretch the product’s edges. Begin with ISO 100, an aperture around f/8 to f/11, and a shutter speed selected by the meter. Use a two-second timer or remote release. Set a custom white balance from a white card inside the box, or select the same Kelvin value as the bulbs.
Take a test frame and inspect the subject’s sides, top, and background. If one side is brighter, move that lamp farther away, reduce its angle, or add a second diffuser layer. If shadows are too dark, raise the side lamps slightly or add the top light. If the white background looks gray, increase exposure while checking that reflective highlights do not clip. For shiny objects, move the lamps rather than changing the bulb type; small angle changes often remove distracting reflections.