









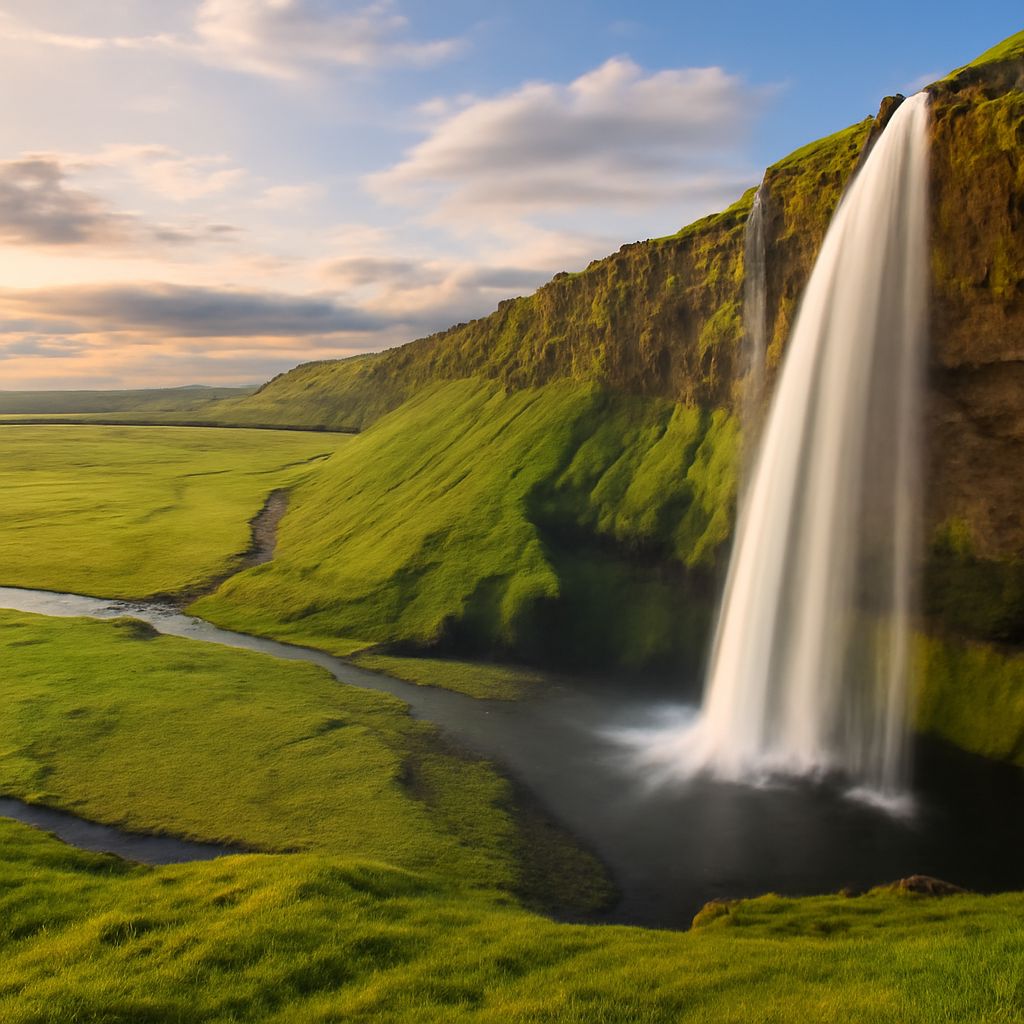
A useful landscape photography definition describes more than photographs of scenery. It refers to a deliberate way of choosing a subject, viewpoint, light, and visual intent so a place communicates a particular structure, mood, or scale. Saturation and exposure bracketing support that goal in different ways: saturation changes color intensity, while bracketing protects detail when a scene contains very bright and very dark areas.
Consider a sunset valley with a bright orange sky, snow-covered peaks, and nearly black foreground trees. Bracketing can preserve information across those tones during capture. Saturation can later make the existing colors more or less intense, but it cannot recover highlights that were recorded as pure white or shadows recorded as featureless black.
Landscape Photography Definition: Subject, Viewpoint, Light, and Visual Intent
Landscape photography portrays outdoor environments as the primary subject. Mountains, coastlines, forests, deserts, rivers, fields, and city skylines can all qualify when the surrounding space and its visual relationships matter more than a single isolated object.
The viewpoint determines how that environment is organized in the frame. A low viewpoint can make foreground rocks appear dominant, while an elevated viewpoint can emphasize patterns in a valley. Distance, focal length, camera height, and composition all change the apparent relationship between foreground, middle ground, and background.
Light is equally important. Side light can reveal texture on a ridge, backlight can separate a tree line from the sky, and soft overcast light can reduce contrast and emphasize color or form. The time of day does not define the genre by itself; it is one of the tools used to shape the scene.
Visual intent gives the photograph a purpose beyond simply recording a location. A photographer may emphasize vastness, quietness, dramatic weather, geological detail, or human impact. That intent guides exposure decisions, composition, color treatment, and the amount of detail retained in highlights and shadows.
Saturation Photography Definition: Global Color Intensity vs. Selective Choices
The saturation photography definition is the adjustment of a color’s intensity or purity. Increasing saturation makes existing colors appear stronger and more vivid. Decreasing it moves colors toward gray without necessarily changing the photograph’s brightness. Saturation is therefore a color treatment, not an exposure adjustment.
A global saturation control affects most or all colors in an image. In the sunset valley, a global increase could intensify the orange sky, blue shadows, green vegetation, and warm reflections at the same time. A moderate adjustment may restore the impression created by natural light, but a heavy adjustment can produce unnatural foliage, harsh shadows, and blotchy color.
Selective color choices target particular hues or regions instead. An editor might reduce orange saturation in the sky while preserving the muted blue of distant mountains, or increase the saturation of autumn leaves without exaggerating the entire scene. HSL controls, masks, and local adjustments allow this narrower treatment.
Saturation cannot repair incorrect white balance, recover clipped highlights, or reveal texture hidden in underexposed shadows. It also does not replace careful exposure. If the sunset sky is already clipped, increasing or decreasing its saturation changes the appearance of the remaining pixels but does not restore the lost tonal information.
What Is Bracketing in Photography? A Step-by-Step Exposure Example
What is bracketing in photography? Exposure bracketing means capturing several frames of the same composition at different exposures. The sequence gives the photographer a choice of a well-rendered frame or several frames that can be combined to handle a scene with more contrast than one exposure can record.
In the valley example, the sky is much brighter than the foreground trees. A practical three-frame bracket can use two-stop spacing: one frame at -2 EV, one at the meter reading, and one at +2 EV. If the base exposure is 1/30 second at f/11 and ISO 100, the sequence can use approximately 1/125 second, 1/30 second, and 1/8 second while keeping the aperture and ISO fixed.
- Mount the camera on a stable tripod and compose the scene. Stabilization can be disabled if the camera or lens recommends doing so on a tripod.
- Set a fixed aperture, such as f/11, and a low fixed ISO. Keeping these settings constant maintains depth of field and minimizes changes in image quality.
- Focus on the intended distance, then use manual focus if autofocus may shift between frames. Set a fixed white balance to keep the color consistent.
- Choose exposure bracketing in the camera menu, select three frames, and set the spacing to 2 EV. Use a self-timer or remote release when movement from pressing the shutter is possible.
- Review the histogram and highlight warning. The darkest frame should protect the bright sky, while the lightest frame should reveal useful detail in the foreground without excessive noise.
Two-stop spacing is a useful starting point, not a rule. A five-frame sequence at 1 EV intervals can provide smoother blending in exceptionally high contrast, while a one-stop sequence may be enough for a moderate scene. Moving branches, water, people, or clouds can create differences between frames, so a single correctly exposed frame may be preferable when movement is significant.
A Practical Field-to-Editing Workflow for Selecting or Combining Frames
Capture the bracket without changing the composition. The frames must align closely for either selection or blending. Check that the camera has recorded the entire sequence and that the brightest and darkest areas contain usable detail. If the scene changes rapidly, make another sequence rather than relying on one incomplete bracket.
During editing, first compare the frames at full size. Select the frame that holds the most important detail if one exposure already handles the scene. This approach is often cleaner than combining images, especially when branches, waves, or clouds have moved.
If no single frame covers the tonal range, combine the bracket as an HDR merge or blend the exposures manually with layer masks. Use the darker frame for the bright sky and the lighter frame for shadow detail, while retaining the middle exposure for natural midtones. Align the frames before blending, and inspect edges for halos, ghosting, or repeated objects.
Only after the tonal structure is balanced should color treatment begin. Apply global saturation cautiously, then use selective adjustments for specific hues or areas. The finished image should retain highlight texture, readable shadows, and believable color; stronger saturation should not be used to disguise clipping, noise, or an unsuccessful blend.