








For anyone getting started with photography, a controlled light-painting project provides practice with the three exposure settings that determine a photograph: shutter speed, aperture, and ISO. The exercise also reinforces focus, composition, camera stability, and image review without requiring advanced equipment.
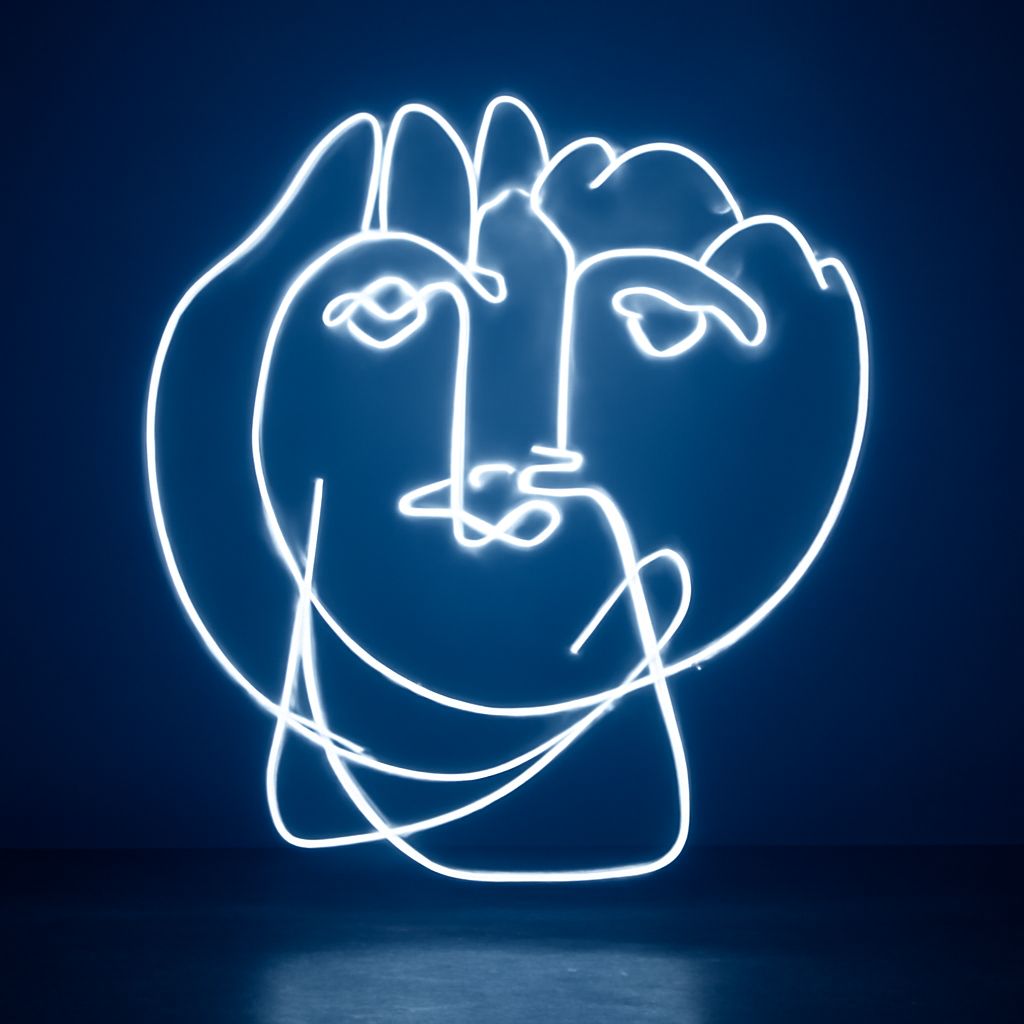
The result is created in the camera while the shutter is open. A moving flashlight or LED source records as a bright line, while a steady camera keeps the background and subject defined.
Getting Started With Photography: Essential Exposure Controls
Exposure is the amount of light recorded by the camera. Three controls manage it:
- Shutter speed determines how long the sensor records light. A fast speed freezes movement; a slow speed, such as 10 or 20 seconds, records movement as a trail.
- Aperture is the opening in the lens. A smaller f-number, such as f/2.8, admits more light and creates a shallower area of focus. A larger f-number, such as f/8, admits less light and keeps more of the scene acceptably sharp.
- ISO controls the sensor’s sensitivity. A low setting such as ISO 100 produces cleaner files, while a high setting brightens the image but can add visible noise.
Manual mode makes these relationships predictable. For a first light painting, a useful starting point is ISO 100, f/8, and a 10-second shutter speed. The settings are not fixed rules. They provide enough time to move a light while limiting the risk of a completely overexposed frame.
Change one control at a time after reviewing a test image. If the photograph is too dark, extend the shutter to 15 or 20 seconds or raise ISO to 200. If it is too bright, shorten the shutter or select a smaller aperture, such as f/11. A longer shutter also allows more movement, while aperture changes affect both brightness and depth of field.
Photography Basics for Beginners: Focus and Composition
Focus determines which part of the scene appears sharp. In a dark setting, autofocus may hunt or fail after the camera is positioned. Use single-point autofocus or AF-S to focus on the subject while a light is shining on it. Once focus is confirmed, switch the lens to manual focus so it stays fixed during the exposure. Avoid touching the focus ring afterward.
Place the main subject away from the exact center when possible, leaving open space where the light trail will travel. Keep the horizon level and check the frame edges for unwanted objects. A simple arrangement works well: position the subject in one third of the frame, then leave the remaining space for the moving light.
Review the corners before starting. A bright window, reflective surface, or stray lamp can compete with the painted line. The light source itself can face the camera for a visible trail, or face the subject to illuminate it. Moving the source from the side generally reveals more texture than shining it directly from the camera position.
Light Painting Photography Tools for a First Project
The following light painting photography tools are sufficient for a repeatable first attempt:
- Camera with manual mode: controls shutter speed, aperture, ISO, and focus instead of relying on automatic decisions.
- Wide or standard lens: includes the subject and enough empty space for the light movement. A kit lens is suitable.
- Sturdy tripod: prevents the camera from moving during the long exposure. A table or solid support can work if a tripod is unavailable.
- Dark indoor room or outdoor location after dark: reduces ambient light so the moving source becomes visible. A room with covered windows is easier to control.
- Small LED flashlight: acts as the paintbrush. A colored LED, phone light, or glow stick can create different line colors and widths.
- Spare batteries: support repeated long exposures, which use more power than ordinary snapshots.
- Two-second timer or remote release: prevents a hand from shaking the camera when the shutter starts.
Dark clothing helps the person operating the light blend into the frame. The light painting is made by physical movement during the exposure, not by applying a brush effect in post-processing.
Set Up, Choose Camera Settings, Move the Light, and Review the Photograph
- Prepare the scene. Choose a stable location, remove stray light, and place the subject where it will remain still. Mount the camera on the tripod and compose the frame before turning off the room lights.
- Set the camera. Select manual exposure, ISO 100, f/8, and a 10-second shutter. Set the file type to RAW if available, disable image stabilization when the camera is firmly mounted, and use a two-second timer. Set white balance around 3,500 to 4,500 K for a cooler neutral appearance, or leave it on auto for a simpler first attempt.
- Focus and lock the frame. Turn on a flashlight and place it on the subject. Use single-point autofocus to focus, then switch the lens to manual focus. Check the composition again without moving the tripod.
- Plan the movement. Decide where the light trail will begin and end. Keep the light moving smoothly at a steady pace. For a visible line, point the light toward the camera; for illuminated brushwork on the subject, point it toward the subject and move around it.
- Make the exposure. Start the timer or remote release, wait for the shutter to open, and move the light through the planned path. Keep the source moving rather than holding it in one place. If the operator should not appear, wear dark clothing, stay outside the planned trail, and turn the light off or cover it when crossing the frame.
- Review the image. Inspect the photograph at full magnification for sharp focus, camera movement, unwanted person-shaped shadows, and a continuous trail. Check the histogram as well: a graph pressed against the right edge indicates clipped highlights, while a graph heavily pressed against the left edge indicates an overly dark frame.
- Make the next adjustment. If the subject is dark but the trail is well exposed, use a brighter light, open the aperture to f/5.6, or raise ISO slightly. If the trail is too faint, move the light more slowly or extend the shutter. If the trail is broken, keep the source on continuously or lengthen the exposure. If the entire image is too bright, shorten the shutter or use f/11. Repeat with only one major change so its effect is clear.