




Capturing the beauty of the night sky is a rewarding endeavor that requires a blend of technical skill and creative vision. Mastering night sky photography involves understanding your camera equipment, setting up for the night shoot, employing specific techniques to capture stunning images, and post-processing to enhance the final result. This guide provides comprehensive insights into how to photograph the night sky effectively.
Understanding Your Equipment
Night sky photography demands specific equipment to achieve the best results. A camera with manual mode is essential, allowing you to control settings such as exposure, aperture, and ISO. A digital single-lens reflex (DSLR) or mirrorless camera is recommended for flexibility and quality. Pair your camera with a wide-angle lens, ideally with a focal length between 14mm and 24mm, and a fast aperture like f/2.8 or wider to capture more light.
A sturdy tripod is crucial to keep the camera stable during long exposure shots. Vibration or movement can lead to blurred images. Additionally, a remote shutter release or intervalometer helps to minimize camera shake and enables you to take long exposures without physically pressing the shutter button.
Setting Up for a Night Shoot
Preparation is key when setting up for a night shoot. Scout a location with minimal light pollution to ensure the stars are visible. Websites and apps like Dark Site Finder or Light Pollution Map can help identify suitable spots. Plan your shoot according to the lunar cycle; a new moon is ideal for capturing a dark sky filled with stars.
Arrive at your location before sunset to set up your equipment and familiarize yourself with the surroundings. Allow your eyes to adjust to the darkness and avoid using bright lights, as this can affect your night vision. A red flashlight is ideal for preserving night vision while providing sufficient lighting to adjust your gear.
Capturing the Stars: Techniques and Tips
Begin by setting your camera to manual mode. A typical starting point for camera settings is an aperture between f/2.8 and f/4, an ISO of 1600 to 3200, and a shutter speed between 20 to 30 seconds. These settings can be adjusted based on the specific lighting conditions and your camera’s capabilities.
To focus in the dark, use the live view mode and magnify a bright star or distant light. Adjust the focus manually until the star appears sharp. Consider using the “Rule of 500” to calculate the maximum exposure time before star trails become visible. Divide 500 by the focal length of your lens (in mm) to get the maximum exposure time in seconds.
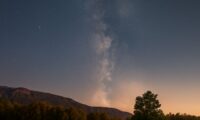
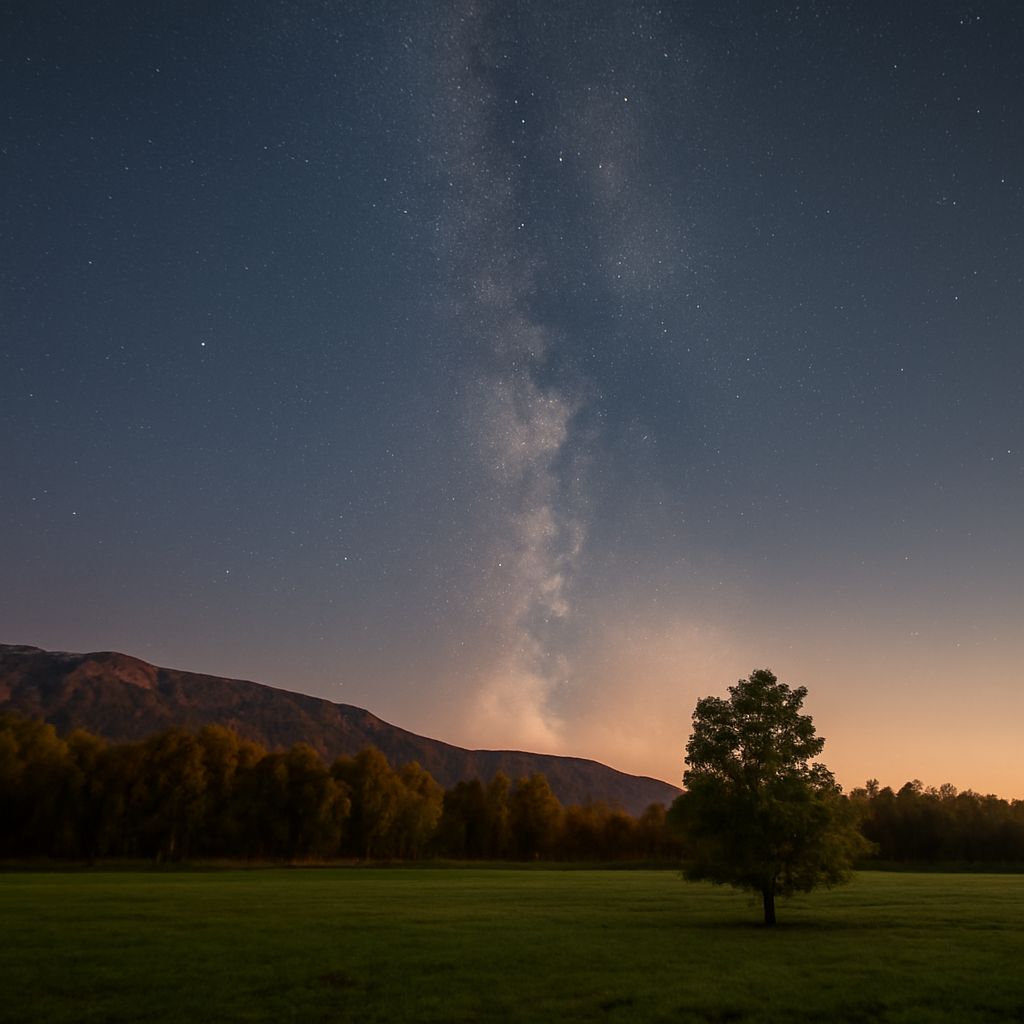
Experiment with compositions by including foreground elements such as trees or landscapes to add depth and interest to your images. Capture multiple exposures to experiment with different techniques like star trails or time-lapses.
Post-Processing Your Night Sky Photos
Post-processing is essential to bring out the best in your night sky photos. Use software like Adobe Lightroom or Photoshop to enhance your images. Start by adjusting the exposure and contrast to bring out the stars while maintaining detail in the darker areas.
Increase the clarity and sharpness to make the stars stand out, but be careful not to overdo it, which can introduce noise. Use noise reduction tools to reduce graininess, especially if you’ve used a high ISO setting. Fine-tune the white balance to achieve a natural-looking sky, often benefiting from a cooler tone.
Consider stacking multiple images to reduce noise and improve image quality. Free software like DeepSkyStacker can be used for this purpose. Each adjustment should enhance the image without compromising its natural beauty, leading to a stunning photo of the night sky.